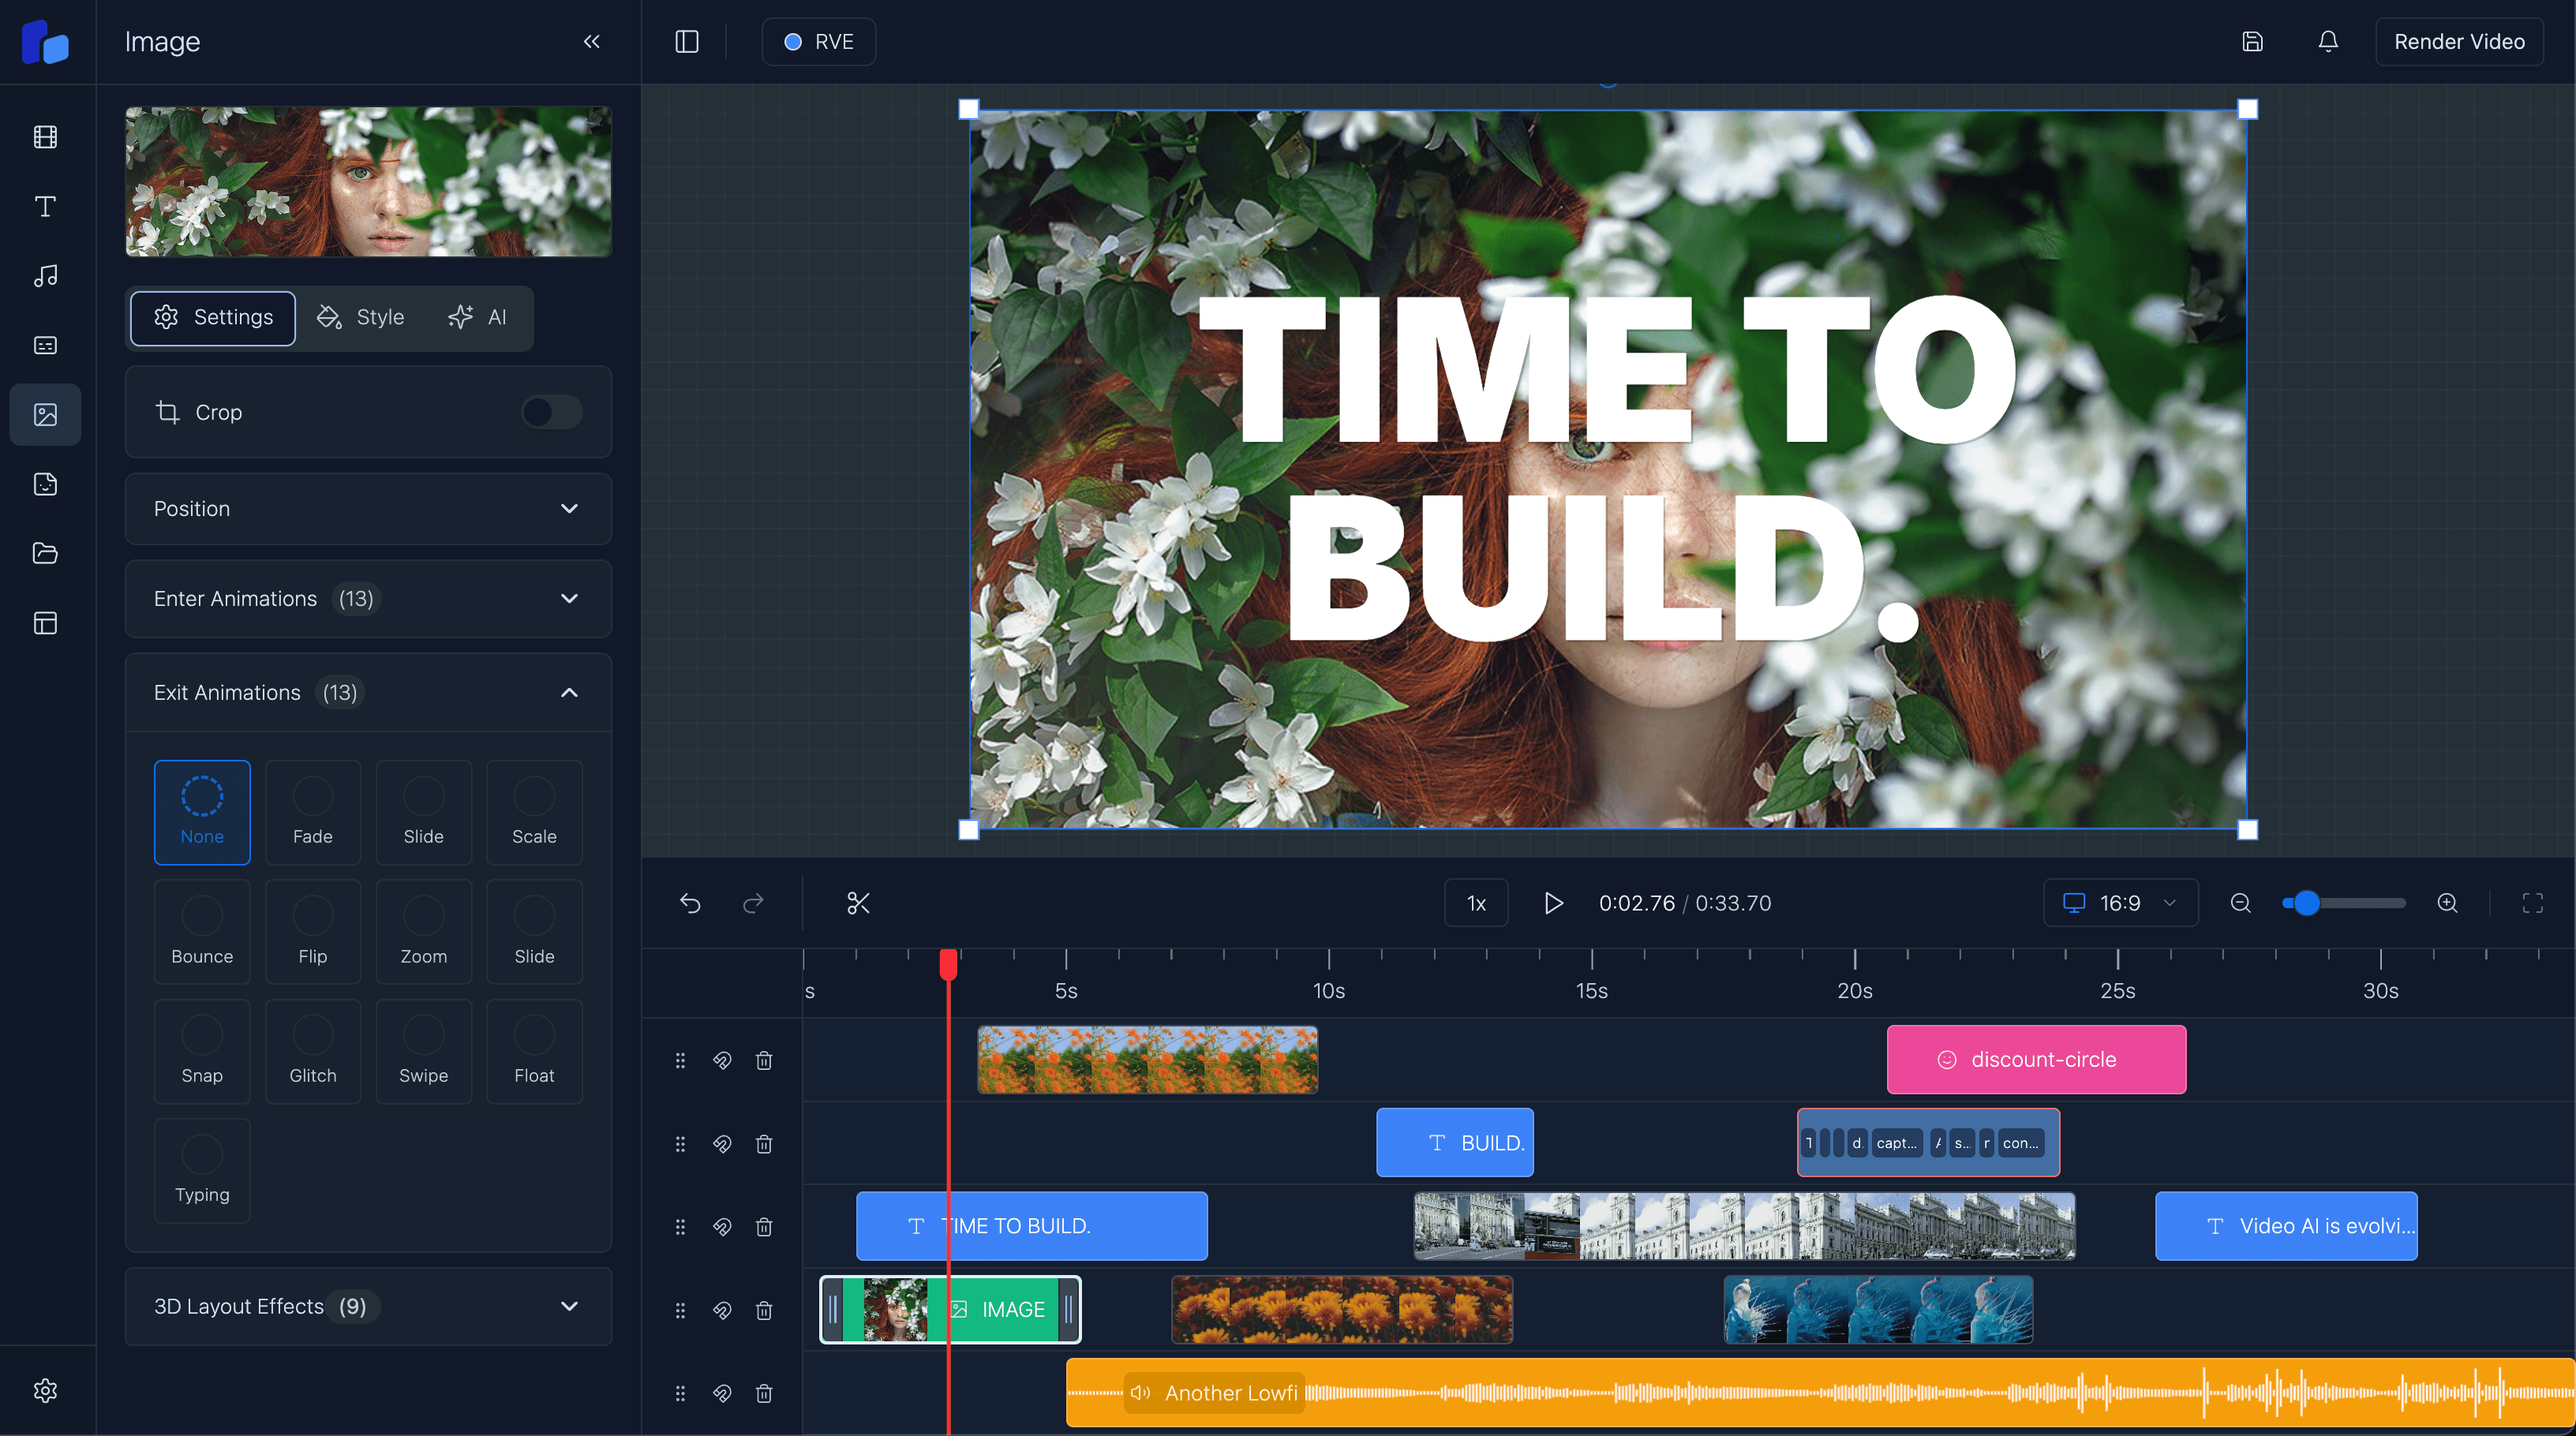
Understanding Local Uploads in RVE
Learn how local uploads work in React Video Editor Pro with a built-in system for adding videos, images, and audio.
Sam
Creator or RVE
Before I get into the details. I want to clarify something upfront.
This upload implementation wasn’t something I originally intended to build. RVE was designed to be modular and flexible, something you could drop into any stack without being tied to a particular storage system.
But a lot of people use RVE locally to make quick edits, test features, or build internal tools. And one of the most common requests I’ve received is: Can I just upload my own files into the editor?
So this is that: one default way of handling local uploads in RVE.
⚠️ If you’re building a production app, this probably isn’t what you want long term.
You should be looking into your own storage pipeline (S3, Supabase, Firebase, etc.).
I recommend starting with this post: Adding Custom Video Upload Support to the React Video Editor
What This Implementation Uses
This system lets users upload their own videos, images, and audio files directly into the editor, without needing third-party cloud storage. It’s designed for local development, testing, or fully offline tools where everything runs inside the browser or on your local machine.
Here's how it works under the hood:
-
localStorage
Generates and stores a lightweightuserId, so uploaded media can be associated with the correct session/user. -
IndexedDB
Stores metadata about uploaded files, like file name, type, thumbnail, and duration, locally in the browser for fast retrieval and offline support. -
Local API routes
Media files themselves are uploaded to a simple/api/local-media/uploadendpoint. This saves the actual file somewhere on disk or memory, depending on your setup.
This whole thing is meant to be easily replaced if you’re building something more robust.
How It Works in RVE
- A user uploads a file in the upload panel
- RVE generates or reuses a local
userIdstored inlocalStorage - The file is uploaded to a local API route
- RVE extracts metadata like:
- File type
- Duration (if audio/video)
- Thumbnail (if image/video)
- The metadata is stored in
IndexedDB - When the editor reloads, files are instantly restored using the data from
IndexedDB
This gives you a smooth experience, no loading spinners, no extra config, no backend required.
1. Identifying the User
user-id.ts
Before uploading anything, RVE needs to associate the file with a user or session. Since there’s no login system in a local setup, we fall back to generating a lightweight, persistent ID and storing it in the browser.
Why we use localStorage?
localStorage is a built-in browser feature that lets you save small pieces of data-like strings-that persist across browser sessions. It's ideal for storing something like a userId locally without requiring user authentication.
How it works in RVE
On first use:
- The app checks if a
USER_ID_KEYexists inlocalStorage. - If it exists, that ID is reused.
- If not, a new UUID is generated using the
uuidlibrary and saved. - If
localStorageisn’t supported (e.g. in private mode), a temporary in-memory ID is used instead.
This ID is then:
- Sent along with every file uploaded
- Used to query and filter uploaded media belonging to the same user
Example
import { v4 as uuidv4 } from "uuid";

const USER_ID_KEY = "videoEditorUserId";

export const getUserId = (): string => {
  try {
    if (!window.localStorage) {
      return `temp-${uuidv4()}`;
    }

    let userId = localStorage.getItem(USER_ID_KEY);

    if (!userId) {
      userId = uuidv4();
      localStorage.setItem(USER_ID_KEY, userId);
    }

    return userId;
  } catch {
    return `temp-${uuidv4()}`;
  }
};
2. The Upload UI
LocalMediaPanel.tsx
LocalMediaGallery.tsx
Users interact with uploads through the LocalMediaGallery inside LocalMediaPanel.
How it works:
- The "Upload" button triggers a hidden file input
- When a file is selected,
handleFileUpload()is called - This sends the file to the
addMediaFile()function (from the media context, explained next)
The file is then uploaded and appears instantly in the gallery, complete with a thumbnail and duration, if applicable.
3. State Management (
local-media-context.tsx
All uploaded files are tracked using React Context. This allows any part of the app to access the list of files, trigger uploads, or clear media.
Core parts of the context:
localMediaFiles– All uploaded filesaddMediaFile()– Handles upload + metadata storageremoveMediaFile()– Deletes a file from the server, context, and IndexedDBclearMediaFiles()– Wipes everything for the current useruseLocalMedia()– Hook to use the context anywhere
When the app starts, getUserMediaItems() is called to load files from IndexedDB.
4. Upload & Processing Logic
media-upload.ts
This is where the actual file handling happens-everything from preparing the file for upload to generating thumbnails and storing metadata in IndexedDB.
When a user selects a file, the uploadMediaFile() function handles the entire pipeline:
- Detects the file type (video, image, audio)
- Extracts metadata like thumbnail and duration
- Uploads the file to the server
- Stores metadata locally in
IndexedDB
uploadMediaFile(file: File)
import { getUserId } from "./user-id";
import { UserMediaItem, addMediaItem } from "./indexdb";

export const uploadMediaFile = async (file: File): Promise<UserMediaItem> => {
  try {
    const thumbnail = await generateThumbnail(file);
    const duration = await getMediaDuration(file);

    let fileType: "video" | "image" | "audio";
    if (file.type.startsWith("video/")) {
      fileType = "video";
    } else if (file.type.startsWith("image/")) {
      fileType = "image";
    } else if (file.type.startsWith("audio/")) {
      fileType = "audio";
    } else {
      throw new Error("Unsupported file type");
    }

    const userId = getUserId();

    const formData = new FormData();
    formData.append("file", file);
    formData.append("userId", userId);

    const response = await fetch("/api/latest/local-media/upload", {
      method: "POST",
      body: formData,
    });

    if (!response.ok) {
      const errorData = await response.json();
      throw new Error(errorData.error || "Failed to upload file");
    }

    const { id, serverPath, size } = await response.json();

    const mediaItem: UserMediaItem = {
      id,
      userId,
      name: file.name,
      type: fileType,
      serverPath,
      size,
      lastModified: file.lastModified,
      thumbnail: thumbnail || "",
      duration,
      createdAt: Date.now(),
    };

    await addMediaItem(mediaItem);

    return mediaItem;
  } catch (error) {
    console.error("Error uploading media file:", error);
    throw error;
  }
};
generateThumbnail(file: File)
Generates a thumbnail for images or videos using the canvas API or file reader. Audio files return an empty string.
export const generateThumbnail = async (file: File): Promise<string> => {
  return new Promise((resolve) => {
    if (file.type.startsWith("image/")) {
      const reader = new FileReader();
      reader.onload = (e) => {
        resolve((e.target?.result as string) || "");
      };
      reader.onerror = () => {
        console.error("Error reading image file");
        resolve("");
      };
      reader.readAsDataURL(file);
    } else if (file.type.startsWith("video/")) {
      const video = document.createElement("video");
      video.preload = "metadata";

      const timeoutId = setTimeout(() => {
        console.warn("Video thumbnail generation timed out");
        resolve("");
      }, 5000);

      video.onloadedmetadata = () => {
        video.currentTime = Math.min(1, video.duration / 2);
      };

      video.onloadeddata = () => {
        clearTimeout(timeoutId);
        try {
          const canvas = document.createElement("canvas");
          canvas.width = 320;
          canvas.height = 180;
          const ctx = canvas.getContext("2d");
          ctx?.drawImage(video, 0, 0, canvas.width, canvas.height);
          const thumbnail = canvas.toDataURL("image/jpeg");
          resolve(thumbnail);
        } catch (error) {
          console.error("Error generating video thumbnail:", error);
          resolve("");
        } finally {
          URL.revokeObjectURL(video.src);
        }
      };

      video.onerror = () => {
        clearTimeout(timeoutId);
        console.error("Error loading video for thumbnail");
        URL.revokeObjectURL(video.src);
        resolve("");
      };

      video.src = URL.createObjectURL(file);
    } else {
      resolve("");
    }
  });
};
getMediaDuration(file: File)
Extracts the duration (in seconds) of a video or audio file using a hidden media element.
export const getMediaDuration = async (
  file: File
): Promise<number | undefined> => {
  if (file.type.startsWith("audio/") || file.type.startsWith("video/")) {
    return new Promise((resolve) => {
      const media = file.type.startsWith("audio/")
        ? document.createElement("audio")
        : document.createElement("video");

      const timeoutId = setTimeout(() => {
        console.warn("Media duration detection timed out");
        URL.revokeObjectURL(media.src);
        resolve(undefined);
      }, 5000);

      media.preload = "metadata";
      media.onloadedmetadata = () => {
        clearTimeout(timeoutId);
        resolve(media.duration);
        URL.revokeObjectURL(media.src);
      };
      media.onerror = () => {
        clearTimeout(timeoutId);
        console.error("Error getting media duration");
        URL.revokeObjectURL(media.src);
        resolve(undefined);
      };
      media.src = URL.createObjectURL(file);
    });
  }
  return undefined;
};
5. Storing Metadata in IndexedDB
indexdb.ts
What is IndexedDB?
IndexedDB is a browser-based database. Unlike localStorage, it supports storing large structured data like objects and blobs. It’s async and performant.
Why RVE uses it:
Instead of making a network request every time you open the editor, we just load your uploaded media instantly from the local database.
It stores things like:
- File name
- Type (image/video/audio)
- Server path
- Thumbnail (as base64 string)
- Duration
- Created date
How it works
- The database is named
VideoEditorDB - We create a store called
userMedia - Each media item is keyed by a unique
id - Indexes let us query by
userId,type, orcreatedAt
6. Adding to the Timeline
Once files are uploaded:
- Clicking a file in the gallery opens a preview modal
- Clicking "Add to Timeline" passes the media data to the editor
- RVE builds an
Overlayobject and inserts it into the player + timeline
Final Thoughts
This is one way to do uploads in RVE. It’s built for developers who need to get up and running fast without a backend. If you're building something real:
- Swap out
user-id.tsfor proper auth - Replace the upload route with your cloud storage
- Move away from IndexedDB to your own API for media metadata
But for a fast, local-first editing setup, this will do the job. Let me know what you think or if you’ve replaced parts of this system in your own project. Always happy to hear how people are extending it.


