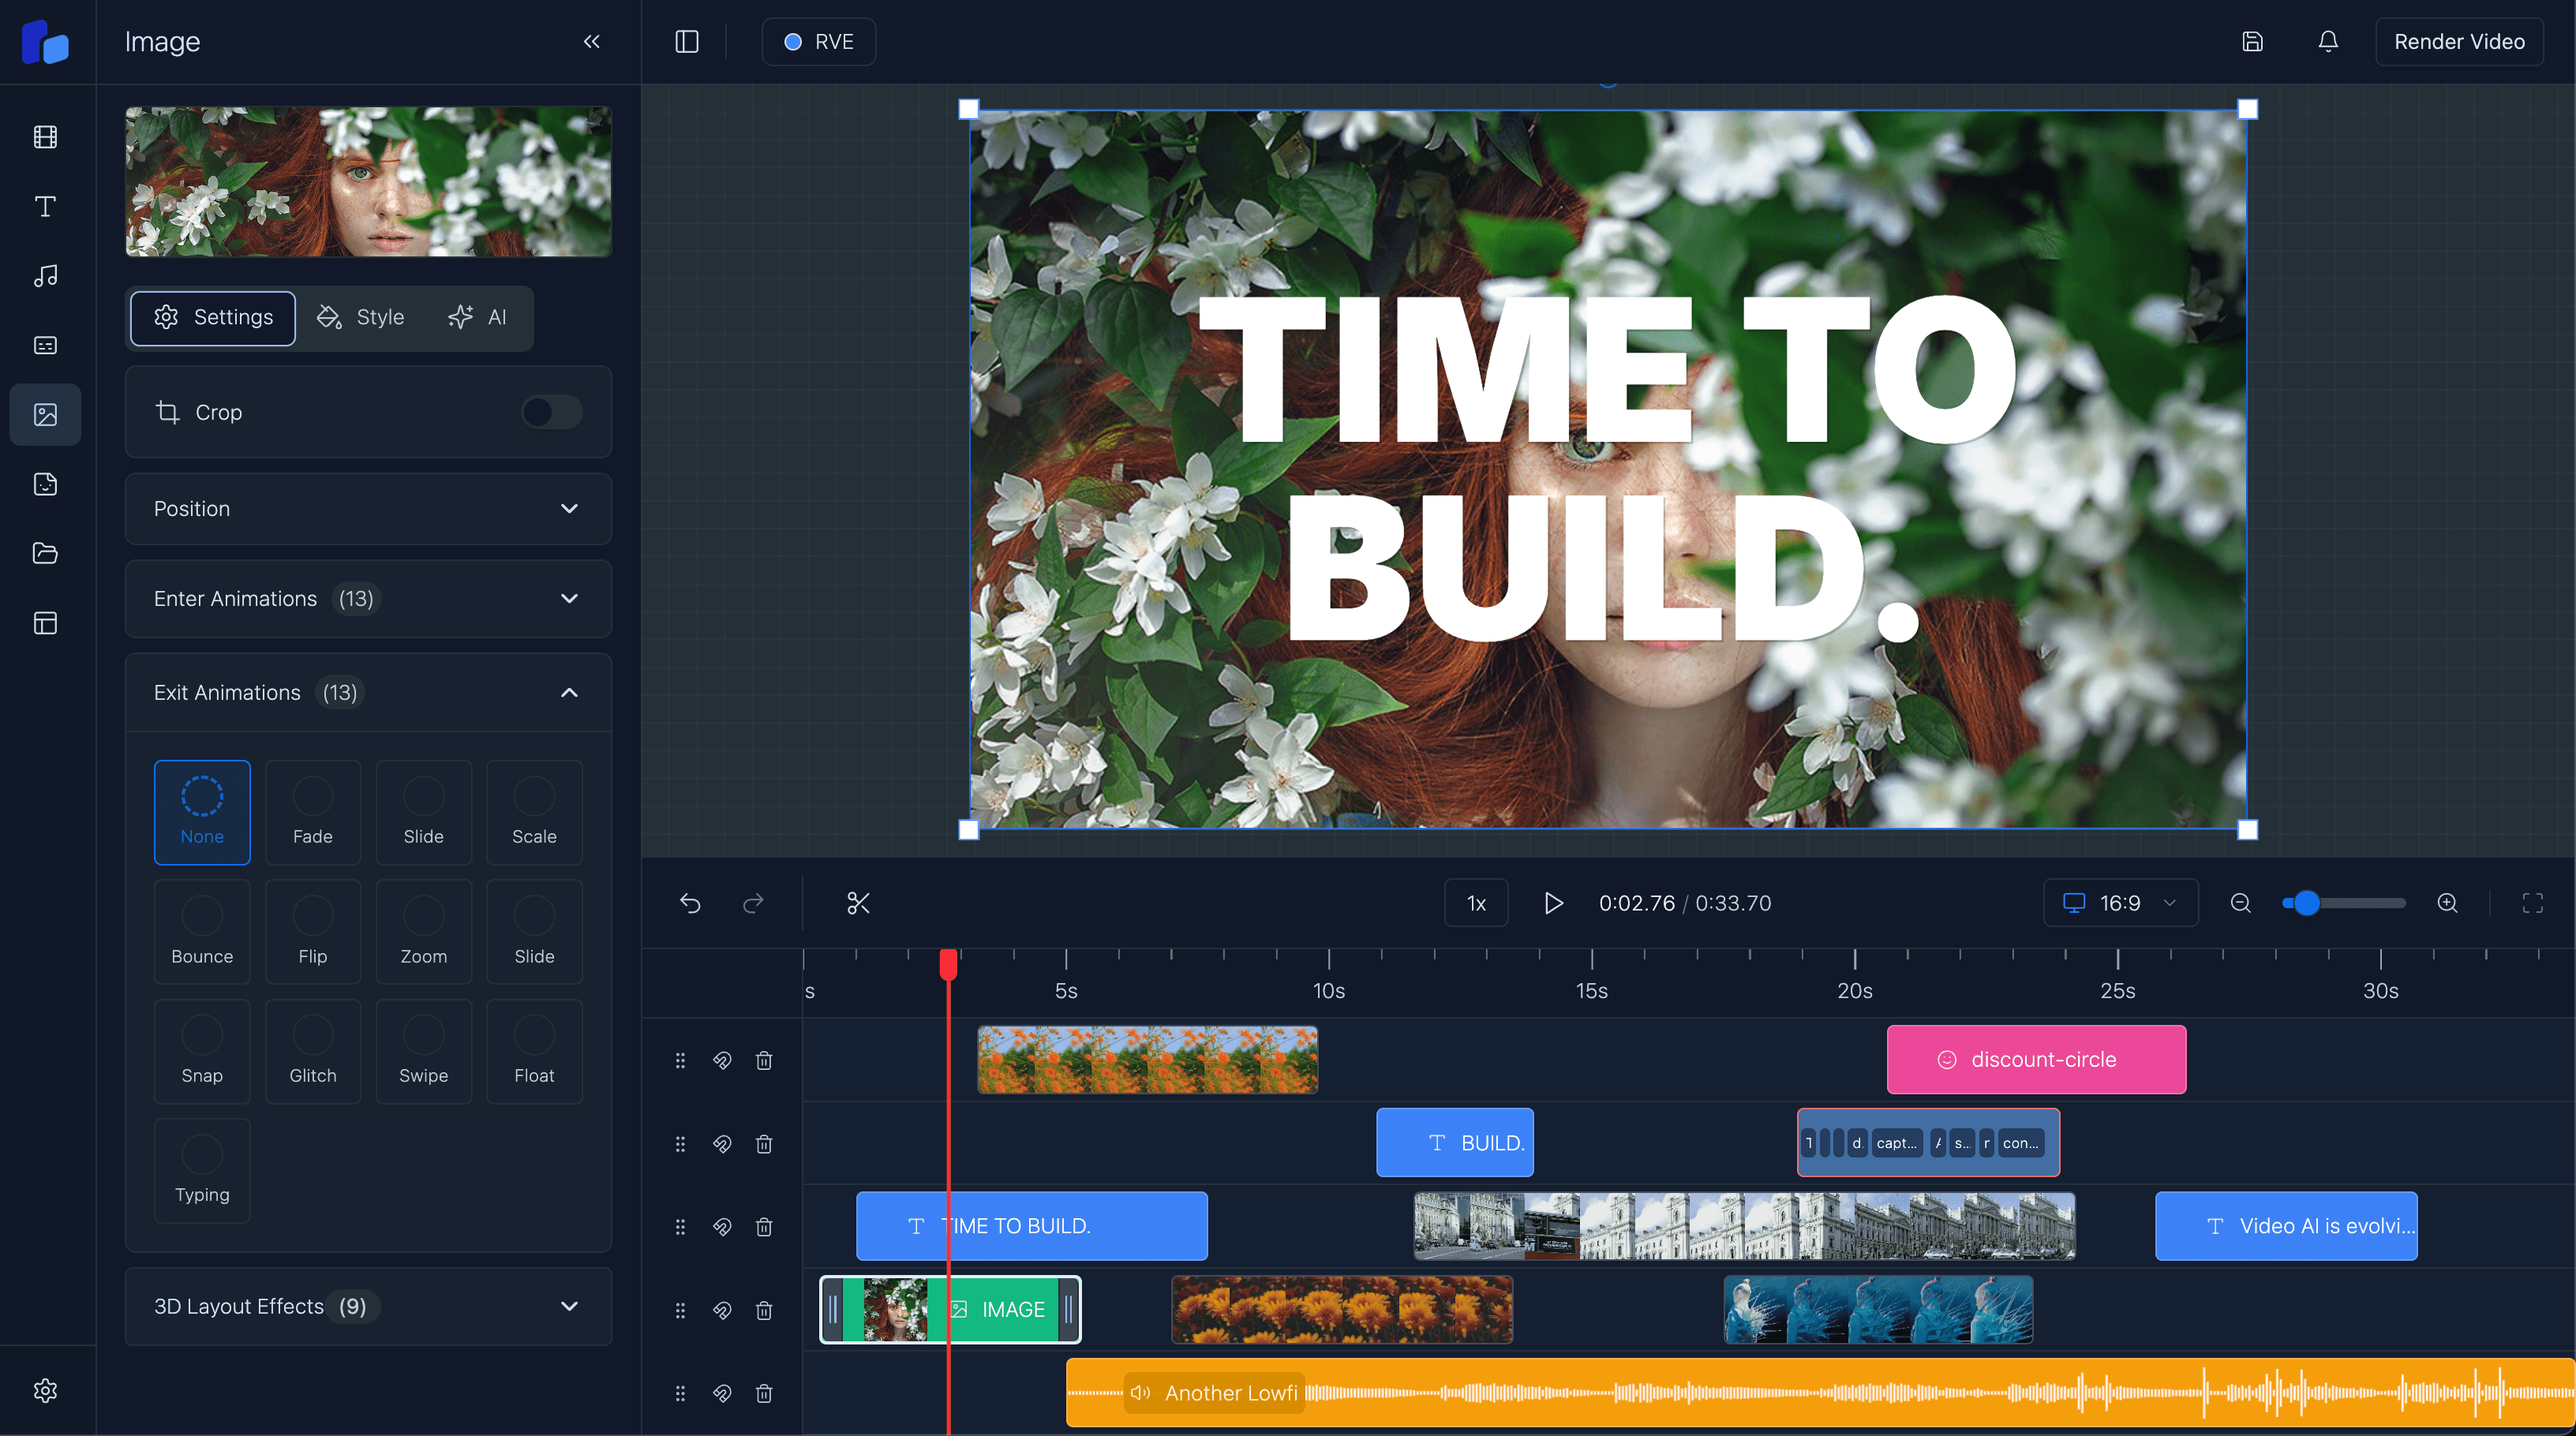
Integrating the RVE into Your Next.js App
Learn how to integrate the RVE component, powered by Remotion and Next.js, into your existing Next.js apps.
Sam
Creator or RVE
Building powerful video editing capabilities into your web applications is now easier than ever with the React Video Editor, built on top of Remotion. In this guide, we'll walk you through integrating the React Video Editor directly into your existing Next.js app.
Prerequisites: This tutorial assumes you already have a working Next.js application and some familiarity with React components. We’ll guide you step-by-step through pulling the editor into your project, setting it up, and running it as a fully integrated video editor in your Next.js environment.
Step 1: Getting the React Video Editor from GitHub
Once you've purchased access to the React Video Editor, you’ll be added to a private GitHub repository. Here’s what to do:
- Pull down the React Video Editor repository – Clone it to your local development environment.
- Choose your version – Each version of the editor is organized in separate folders (e.g.,
v3,v4, etc.), so pick the version that best suits your needs.
Step 2: Adding the Editor to Your Next.js App
With the version of the editor chosen, follow these steps to incorporate it into your app:
- Create a component folder – Inside your Next.js app, create a
componentsfolder if you don’t have one already. - Copy the chosen version folder – Paste the React Video Editor files (from the version folder you selected) into your
componentsdirectory. This will add all required files, assets, and modules. You may even want to create a new subfolder calledvideo-editorto make it easier to find.
Step 3: Install All Dependencies
The editor relies on several dependencies depending on the version you choose. Run the following command in your project’s root directory to install all dependencies for the selected version:
npm installThis will ensure all required packages are installed for the editor to work properly.
Step 4: Integrate the Editor into Your Application
The main entry point for the React Video Editor is the react-video-editor.tsx file. This file pulls together various components, providers, and hooks to create the complete editor interface and functionality. Here’s an overview of how the editor is structured:
// Entry point: react-video-editor.tsx
import { useState } from "react";
import { SidebarProvider } from "./contexts/sidebar-context";
import { EditorProvider } from "./contexts/editor-context";
import { Editor } from "./components/editor";
import { AppSidebar } from "./components/app-sidebar";

export default function ReactVideoEditor() {
  // Basic state for overlays and selected overlay ID
  const [overlays, setOverlays] = useState([]);
  const [selectedOverlayId, setSelectedOverlayId] = useState<number | null>(
    null
  );

  // Basic handler functions for overlays
  const addOverlay = (overlay: any) => setOverlays([...overlays, overlay]);
  const deleteOverlay = (id: number) =>
    setOverlays(overlays.filter((overlay) => overlay.id !== id));
  const changeOverlay = (id: number, updatedOverlay: any) =>
    setOverlays(
      overlays.map((overlay) => (overlay.id === id ? updatedOverlay : overlay))
    );

  // Editor context value
  const editorContextValue = {
    overlays,
    selectedOverlayId,
    setSelectedOverlayId,
    addOverlay,
    deleteOverlay,
    changeOverlay,
  };

  return (
    <SidebarProvider>
      <EditorProvider value={editorContextValue}>
        <AppSidebar />
        <Editor />
      </EditorProvider>
    </SidebarProvider>
  );
}
Note: This setup includes basic state management for overlays and a few simple functions for handling overlay changes. Different versions of the React Video Editor might require additional or different state variables and handler functions. Use this as a general framework, and refer to your specific version’s documentation to adapt it fully to your project’s needs.
Component Breakdown
The ReactVideoEditor component brings together all the editor’s essential pieces:
- UI Components: This includes a sidebar (
AppSidebar) and the main editor interface (Editor). These components make up the main user interface of the video editor. - Context Providers: Two providers (
SidebarProviderandEditorProvider) manage the sidebar's visibility and the editor's state, respectively. - Hooks: Several custom hooks handle key functionality, such as:
- useOverlays: Manages overlays that can be applied to the video.
- useVideoPlayer: Manages video playback controls.
- useTimelineClick: Tracks user clicks on the timeline.
- useAspectRatio: Calculates and adjusts the aspect ratio of the video.
- useRendering: Prepares the video for rendering with settings like duration and frame rate.
Final Steps
Run the App – After everything is set up, start your Next.js app to see the editor in action:
npm run devCustomize as Needed – Now that the React Video Editor is integrated, you can start using and customizing it to fit your specific requirements. You can tweak overlays, manage timeline events, adjust the composition's aspect ratio, and render the final video output directly within your Next.js environment.
Note: Depending on the version you choose, different features and configurations may be available. Each version may have unique overlays, timeline capabilities, or rendering optimizations, so be sure to review the documentation provided for the specific version you’re using to get the most out of its functionality.
Notes on Remotion Integration
The React Video Editor is built on top of Remotion, a powerful library for creating videos with React. This integration allows you to control every frame of your video through React components, enabling precise adjustments and powerful visual effects.
Remember: To get video rendering working, you'll need to set up video rendering with Next.js and Remotion. For a detailed guide on this setup, check out our article: Video Rendering with Remotion and Next.js.
By following this guide, you've successfully added a video editor into your Next.js app. Now you can experiment, customize, and unlock powerful video editing capabilities right in your web application!
