How to use the Pexels Video API in Next.js
Learn how to integrate the Pexels Video API into your Next.js application, create custom hooks, and display high-quality videos seamlessly.
Sam
Creator or RVE
The Pexels API provides high-quality, royalty-free video content that you can integrate into your applications. In this guide, we'll create a Next.js app to render a list of videos using the Pexels API. You’ll learn how to set up the API, create a custom hook, and display the videos in a React component.
Prerequisites
- Basic understanding of JavaScript and React.
- Familiarity with Next.js and React hooks.
Step 1: Set Up Your Next.js Application
First, if you haven’t already, set up a new Next.js project. In your terminal, run:
npx create-next-app pexels-video-app
cd pexels-video-app
Step 2: Get Your Pexels API Key
- Visit Pexels and create a free account.
- Once logged in, go to the Pexels API page and request an API key.
- Once approved, you’ll receive your API key. Copy it, as you'll need it soon.
Step 3: Set Up Environment Variables
To keep your API key secure, store it in an environment variable. Create a .env.local file in the root of your project and add:
NEXT_PUBLIC_PEXELS_API_KEY=your_api_key_hereReplace your_api_key_here with your actual API key.
Step 4: Create a Custom Hook to Fetch Videos
Create a usePexelsVideos hook to handle video fetching and API logic. Inside the src directory, create a folder named hooks and a file called usePexelsVideos.ts. Add the following code:
// src/hooks/usePexelsVideos.ts
import { toast } from "@/hooks/use-toast";
import { useState } from "react";

// Interface defining the structure of video data returned from Pexels API
interface PexelsVideo {
  id: number;
  width: number;
  height: number;
  url: string;
  image: string;
  video_files: Array<{
    id: number;
    quality: string;
    file_type: string;
    link: string;
  }>;
}

export function usePexelsVideos() {
  const [videos, setVideos] = useState<PexelsVideo[]>([]);
  const [isLoading, setIsLoading] = useState(false);

  const fetchVideos = async (query: string) => {
    setIsLoading(true);
    try {
      const response = await fetch(
        `https://api.pexels.com/videos/search?query=${query}&per_page=20&size=medium&orientation=landscape`,
        {
          headers: {
            Authorization: process.env.NEXT_PUBLIC_PEXELS_API_KEY || "",
          },
        }
      );

      if (!response.ok) throw new Error(`HTTP error! status: ${response.status}`);

      const data = await response.json();
      setVideos(data.videos);
    } catch (error) {
      console.error("Error fetching Pexels media:", error);
      toast({
        title: "Error fetching media",
        description:
          "Failed to fetch media. Have you added your own Pexels API key?",
        variant: "destructive",
      });
    } finally {
      setIsLoading(false);
    }
  };

  return { videos, isLoading, fetchVideos };
}
Step 5: Create a Video List Component
Now that we have our custom hook, let’s create a component to display the videos. Inside src, create a folder called components and a file called VideoList.tsx with the following code:
// src/components/VideoList.tsx
import React, { useEffect } from "react";
import { usePexelsVideos } from "@/hooks/usePexelsVideos";

export default function VideoList({ searchTerm }: { searchTerm: string }) {
  const { videos, isLoading, fetchVideos } = usePexelsVideos();

  useEffect(() => {
    fetchVideos(searchTerm);
  }, [searchTerm]);

  if (isLoading) return <p>Loading videos...</p>;

  return (
    <div className="grid grid-cols-3 gap-4">
      {videos.map((video) => (
        <div key={video.id} className="p-4 border rounded-md">
          <img src={video.image} alt={`Thumbnail of video ${video.id}`} className="w-full" />
          <a href={video.url} target="_blank" rel="noopener noreferrer">
            View on Pexels
          </a>
          <div>
            <video controls width="100%">
              <source src={video.video_files[0].link} type="video/mp4" />
              Your browser does not support the video tag.
            </video>
          </div>
        </div>
      ))}
    </div>
  );
}
This component: - Calls
fetchVideoswith the search term whenever it changes. Displays a loading message while fetching data. Renders each video thumbnail with a link to Pexels and an embedded video player.
Step 6: Display the Video List in a Page Component
Finally, let’s display the video list on a page. Open pages/index.tsx and add the following code:
// pages/index.tsx
import React, { useState } from "react";
import VideoList from "@/components/VideoList";

export default function Home() {
  const [query, setQuery] = useState("nature");

  const handleSearch = (event: React.FormEvent) => {
    event.preventDefault();
    const searchTerm = (event.target as HTMLFormElement).querySelector("input")?.value;
    if (searchTerm) setQuery(searchTerm);
  };

  return (
    <main className="p-8">
      <h1 className="text-2xl font-bold mb-4">Pexels Video Search</h1>
      <form onSubmit={handleSearch} className="mb-4">
        <input type="text" placeholder="Search videos..." className="p-2 border rounded" />
        <button type="submit" className="p-2 bg-blue-500 text-white rounded ml-2">Search</button>
      </form>
      <VideoList searchTerm={query} />
    </main>
  );
}
This code:
- Sets up a search form with an input field.
- When submitted, it updates the
querystate, triggeringVideoListto fetch videos based on the new search term.
Step 7: Styling
Add some basic styling in styles/globals.css to make it look nicer:
/* styles/globals.css */
body {
  font-family: Arial, sans-serif;
}
.grid {
  display: grid;
  gap: 1rem;
}
.border {
  border: 1px solid #ddd;
}
.rounded {
  border-radius: 0.5rem;
}
.p-4 {
  padding: 1rem;
}
Step 8: Run Your Application
In your terminal, start the development server:
npm run devGo to http://localhost:3000 in your browser, and you’ll see a simple interface where you can search for videos from Pexels!
Going Further: Building a Video Editor with Your Pexels Integration
Now that you’ve successfully integrated the Pexels API to display video content in your Next.js application, you can take things a step further by using these videos as part of a custom video editor.
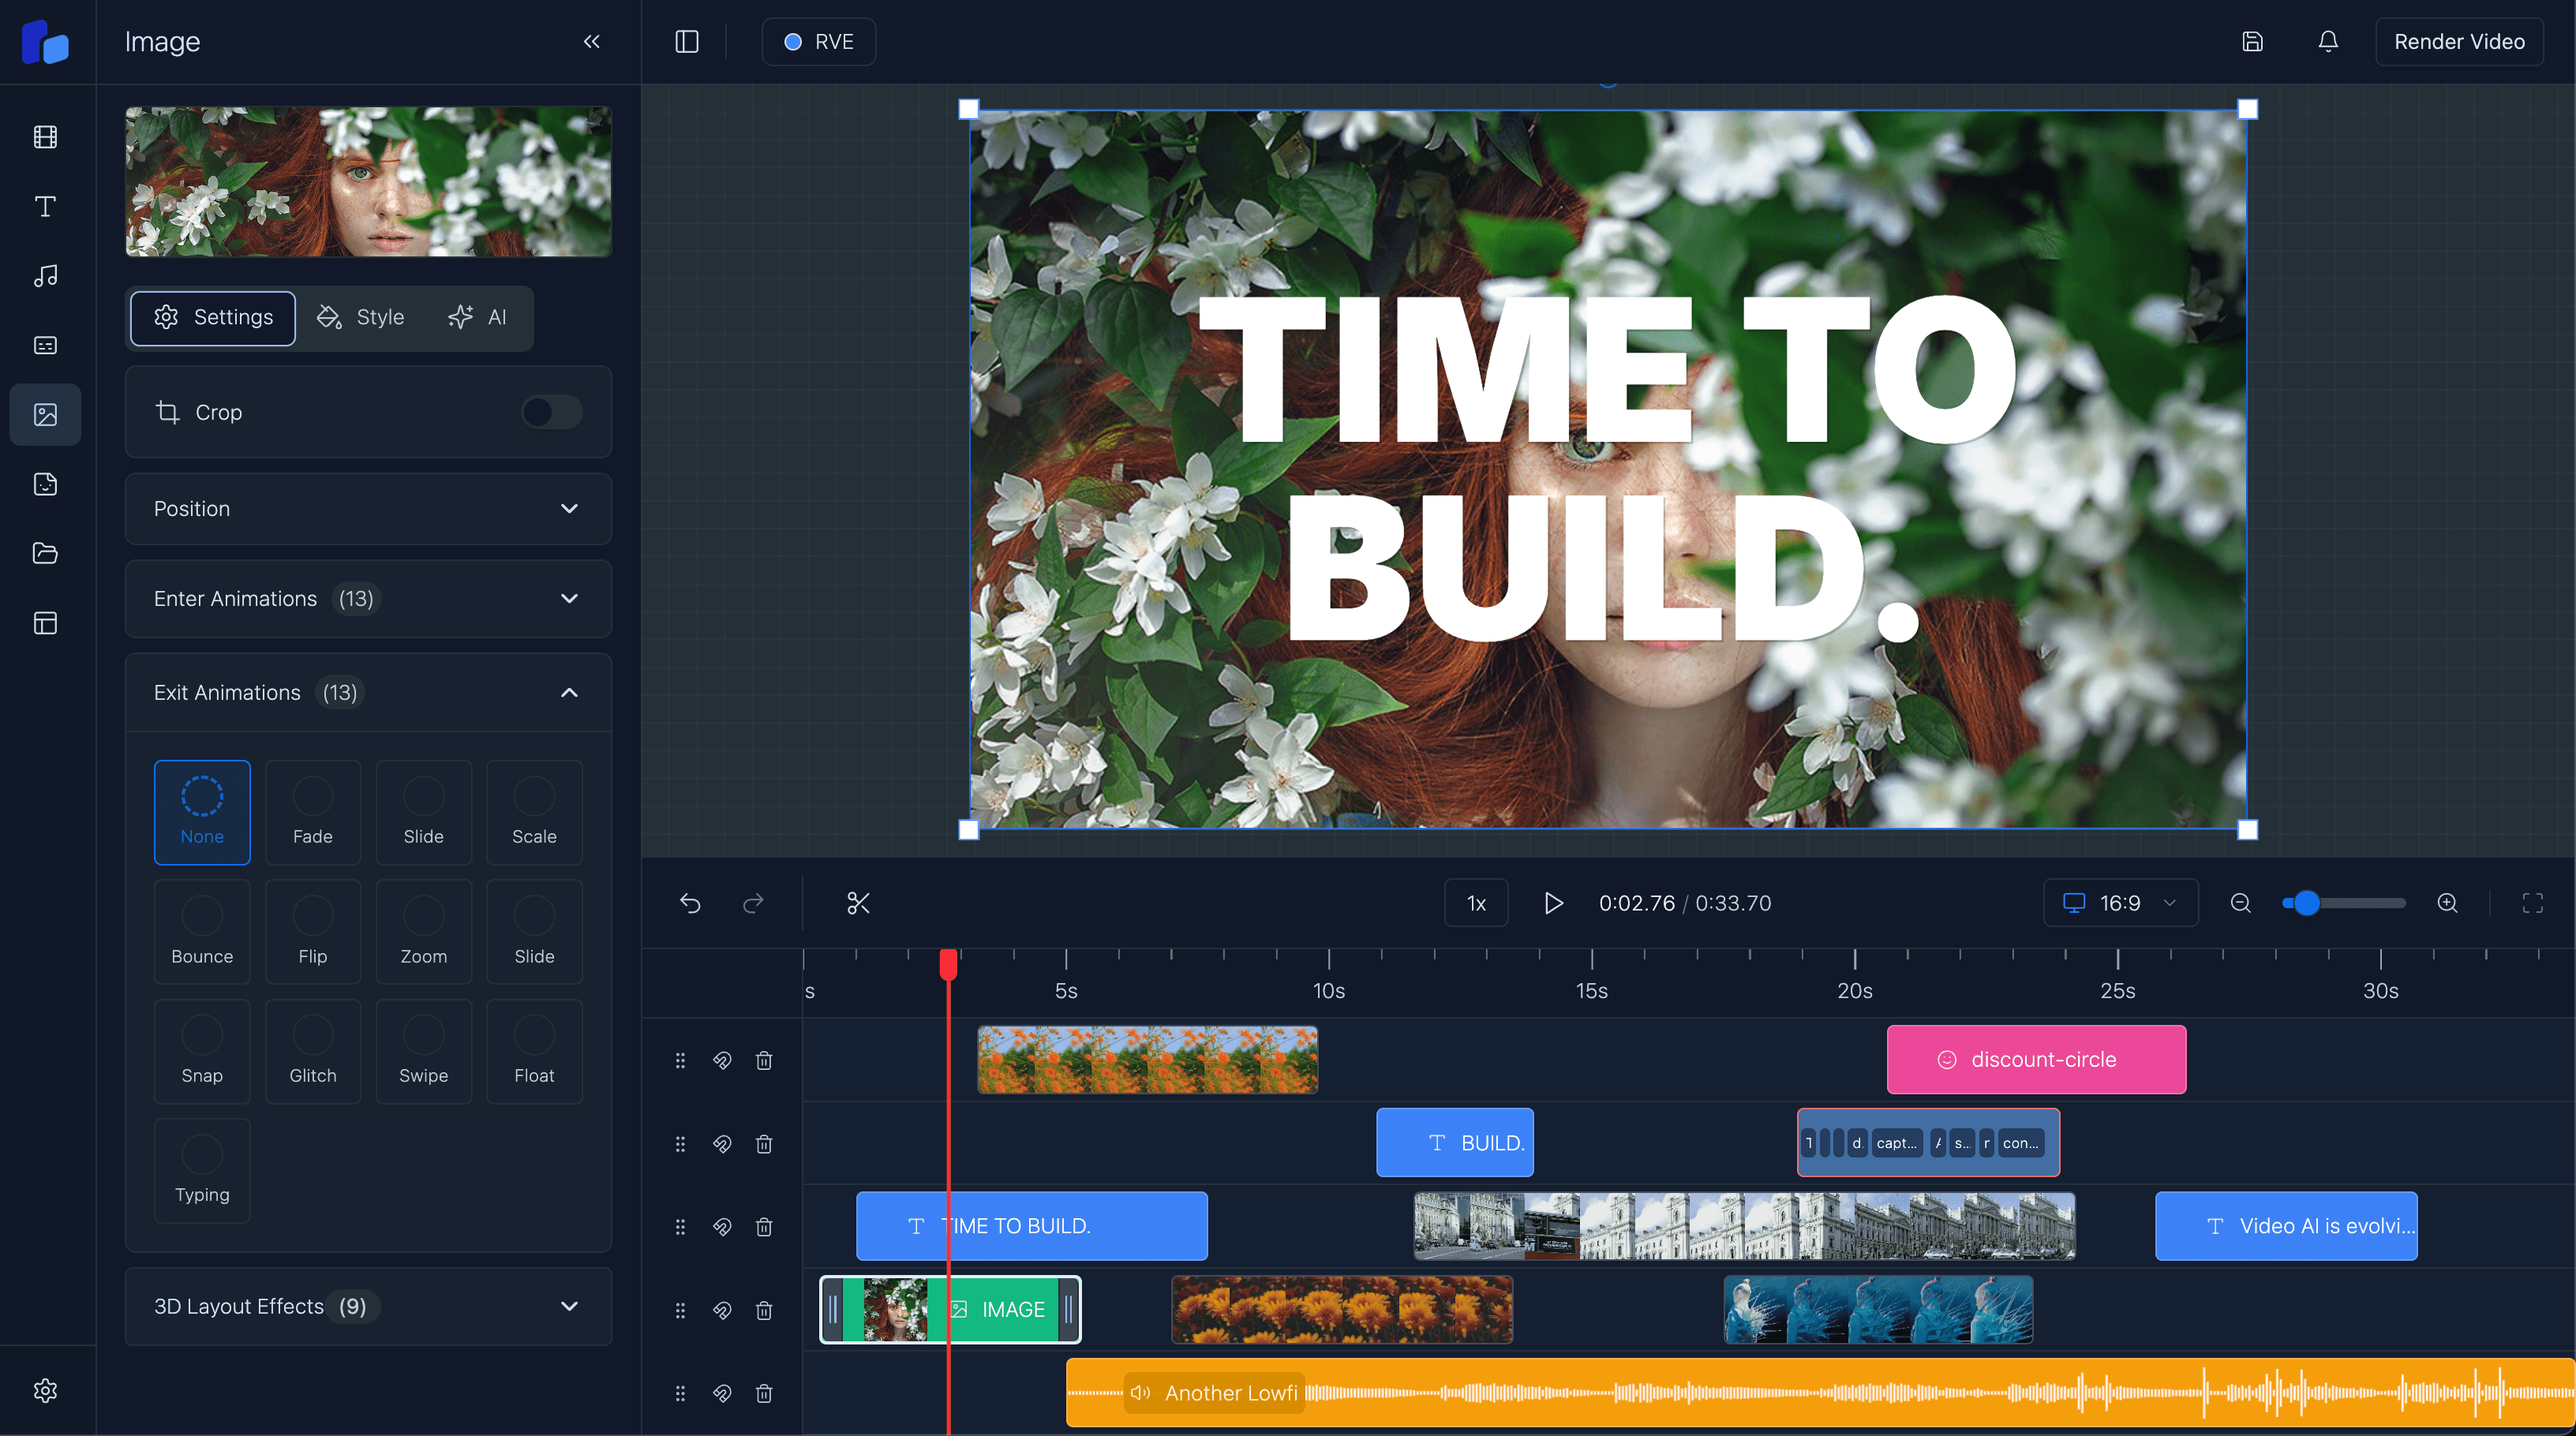
If you're interested in creating an AI-powered video editor that incorporates clips from sources like Pexels, check out our in-depth guide on building a React Video Editor:
